16 Steps to Winterizing your Motorcycle with some Cool Looking Pics Included
16 Steps for getting your motorcycle ready for the winter-with pictures
As winter quickly approaches, it is important to take steps in properly maintaining your motorcycle to prevent it from getting affected by the ravages of winter. Improper winter maintenance of your motorcycle may cause your bike to sustain exterior damage and mechanical damage as well. Fortunately for you, we at vipcycle.com, have written an easy to follow 14 step solution for properly winterizing your motorcycle-and the best part is, we’ve added some cool pictures in as well ;-)
Step 1: Gather all the items necessary for winterizing your bike which include
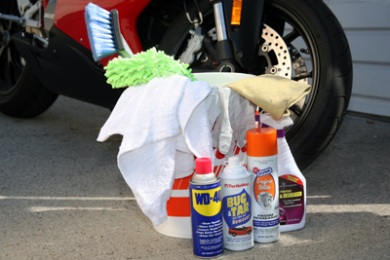
motorcycle cover, cleaning cloths, a battery charger, a couple of quarts of oil (depending on how many your bike takes), a new oil filter, chain lube (if needed), fuel stabilizer, WD40, spark plug wrench, sponge, work gloves, leather conditioner, soap for cleaning your bike, and wax for keeping it shinny. Choose a good spot to keep your bike in throughout the winter such as a garage.
Step 2: Give your bike a good cleaning
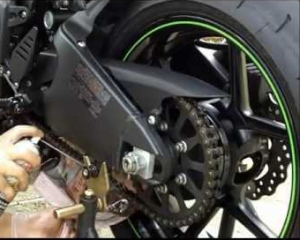
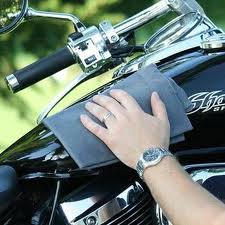
Using a gentle soap or cleanser, mix the cleanser into a bucket of warm water and using a soft cloth, thoroughly wash the motorcycle. Be careful not to spray any water into the opening of the muffler as this can cause rust to form inside of it. Once you have thoroughly cleaned the bike, polish all metal surfaces using a quality metal polish and finally finish up by applying a good coat of wax to the bike. Clean the chain on the motorcycle using WD40. After it has been cleaned, lube your chain with a good lube oil.
Step 3: Fill up your gas tank with fuel to the max
After completely filling up your gas tank with fuel, add a fuel stabilizer to it and turn on the motor until you get the gas running through the carburetor and fuel injectors. Make sure to use a fresh bottle of fuel stabilizer, as it remains good for only two years after opening.
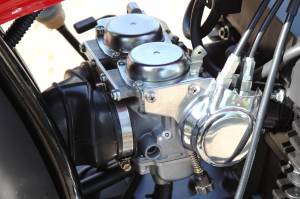
Step 4: Drain your carburetor
Shut off the gas petcock on your motor and drain the gas from the carburetor bowls. If your motorcycle is fuel injected, then you get to skip this step :-)
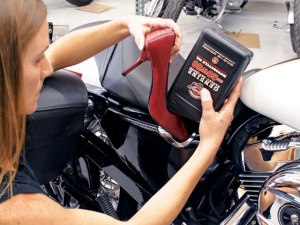
Step 5: Change your engine oil
There’s nothing worse for a motorcycle’s engine than having old oil sitting in it. Old oil can develop combustion gases which can start to corrode parts in your engine. The longer the oil sits, the more corrosion will develop. To prevent this from happening to your bike, always change the oil before storing the bike for extended periods of time.
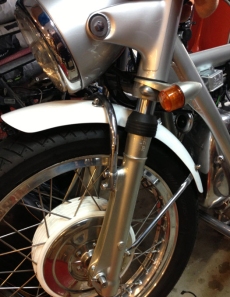
Step 6: Lube your front forks
By adding oil to your front forks, the oil will prevent the rubber seals around the forks from drying out. Do not use WD40, as this will eventually dry out and cause sticking. Only use a specified fork lube.
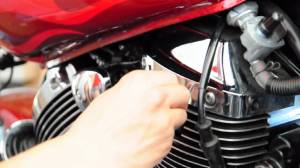
Step 7: Remove plugs and spark plug wires
After removing the spark plug wires, using a spark plug wrench, remove the spark plugs, clean them, make sure they are gaped correctly, and put them back in. Finally, re-attach the spark plug wires.
Step 8: Properly seal your muffler
Using a banana (just kidding)- Stuff a dry sponge inside the opening of your muffler or wrap a small bag over the end of it, to keep insects and other rodents from going inside of it and making it their home. Paste a note on the bike reminding you of this so that you don’t inadvertently start the engine with the sponge or bag or banana ;-) left in there.
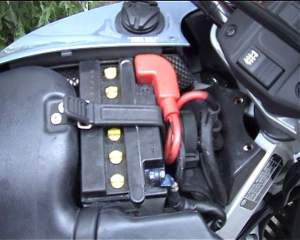
Step 9: Remove the battery or disconnect battery terminals
To avoid sulfate build up from occurring on your battery, disconnect the terminals from the bike and remove the battery. Applying a small dab of Vaseline to the battery terminals can also prevent them from corroding.
Step 10: Lube, lube, and more lube
Apply lube to your drive shaft, pivot, and suspension points.
Step 11: Check your motorcycle’s cooling system
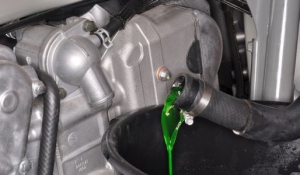
Using a hygrometer, it is a good idea to check the level of anti-freeze coolant in your bike’s cooling system. If necessary, drain and replace the coolant with new anti-freeze. It is advisable that you replace your coolant with new anti-freeze coolant, every two years. Avoid leaving the level of anti-freeze low or empty, as this can lead to corrosion of your bike’s cooling system.
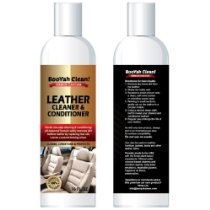
Step 12: Carefully clean and apply leather conditioner to all leather surfaces
Doing so will prevent the leather from cracking and drying.
Step 13: Apply WD40 or machine oil to the metal surfaces of your bike
Apply WD40 using a soft cloth to all metal surfaces except the disc brakes. This will help prevent rust as well as keep your bike looking great once spring time rolls around.
Step 14: Cover the bike with a motorcycle cover
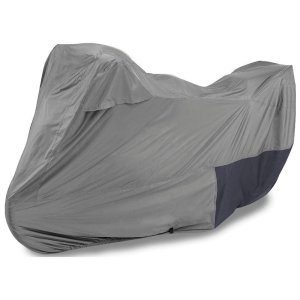
By covering your bike, you prevent it from collecting dust, which will not only keep it looking dirty, but get into places that you want to avoid.
Step 15: Pat yourself on the back for a job well done.
Doing so will raise your confidence and give you a sense of accomplishment and well being.
Step 16: Log onto www.vipcycle.com for deals on parts and accessories
Have a look at the motorcycle parts and accessories we have to offer, like: motorcycle grips, mirrors, turn signals, andside mount license plate brackets. Shop for whatever you need so when spring comes around, you’ll be ready to ride!
Recent Posts
-
How to Decode the Many Harley Davidson Acronyms, Models, Codes, & Styles
Harley Davidson has A LOT of models, acronyms, and different style bikes which can lead to plenty of
-
Have You Seen the Limited Edition 2023 Jack Daniel's Indian Chief Bobber Dark Horse? -Check Out the Full Review with video included
Since 2018, Jack Daniel's and Indian Motorcycle have developed a successful partnership together. Wi

